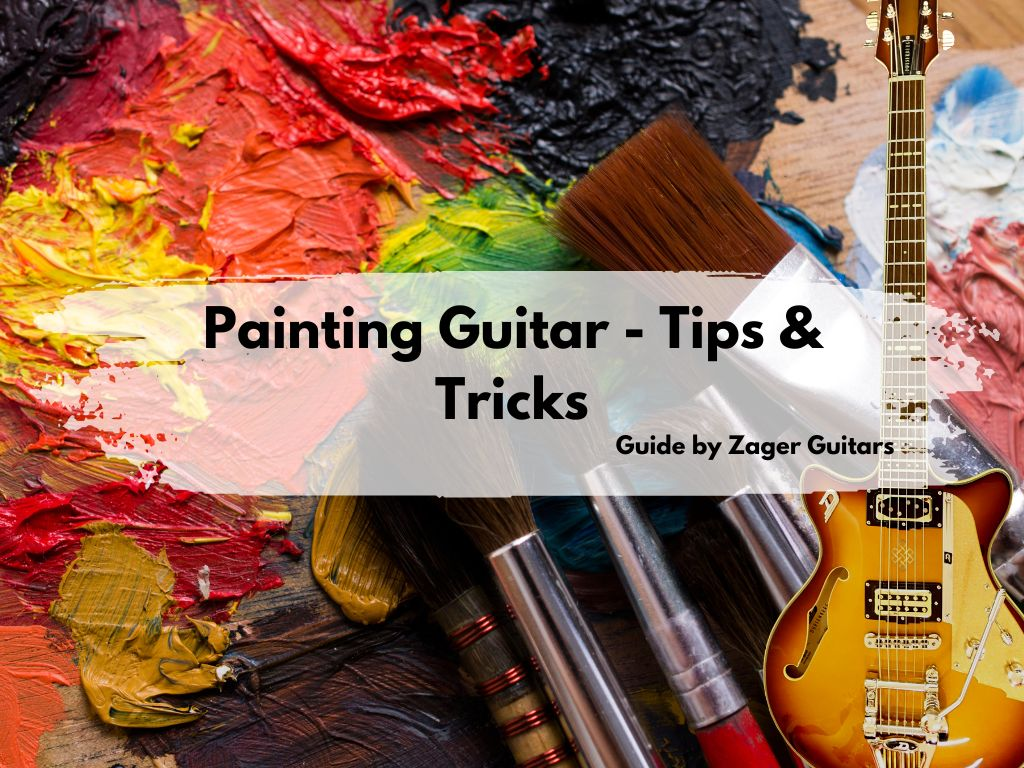
Guitar Revamp: Guitar Painting Tips and Tricks
Guitar painting is a type of art that lets you customize your guitar by painting it. Several methods exist, including painting the guitar in a particular pattern or dousing it in color. You can use any creative way to give your instrument an appealing appearance.
However, to avoid damaging your guitar when painting it, you must be aware of specific painting methods and the appropriate painting supplies. So, in this piece, we’ll go over everything there is to know about painting guitars, including why it’s done, how it’s done, and how to care for a painted guitar.
Why Paint a Guitar?
There can be multiple reasons behind painting a guitar. Some do it to give it a design that represents their personalities, while others do it to adhere to a particular aesthetic. One might even paint a guitar to make it stand out or start a new trend.
In addition, one can paint their instrument to cover up or fix damaged areas. It could also be a hip artistic method to restore the guitar’s appearance.
Benefits and Drawbacks of Painting Your Guitar
Before beginning, it is essential to weigh the advantages and disadvantages of guitar painting
Benefits
The main benefits include the possibility of a painted guitar giving a guitarist his distinctive style. The appearance may improve a performer’s or person’s overall appearance. Also, painting over dents and scratches on a guitar sounds like a very affordable method to repair minor damage.
- Drawbacks
Moving on to the disadvantages of painting a guitar, it is clear that if the job isn’t done correctly, it may harm the guitar somehow, ultimately affecting its sound or structure. As a result, you should be extremely careful when painting a guitar and ensure you are doing it with proper preparation and techniques.
In addition, you may spend a lot of time and energy on this job because it takes a long time to create the ideal appearance for your guitar. This can be exhausting and stressful, requiring you to concentrate on even the tiniest details.
Many guitarists primarily refrain from painting their instruments because doing so might lower their resale value. This is because some customers prefer the original guitar version or may assume you painted the guitar to cover up a flaw or harm.
Different Tools for Guitar Painting
Generally, it depends on the design or technique you are using for painting the guitar, but allow me to tell you some of the best tools to paint your instrument with.
- Paintbrush
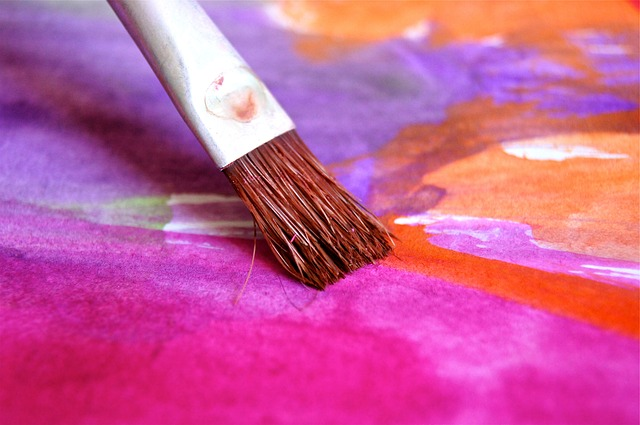
Painting a guitar with a paintbrush is a good option, as it enables you to create complex and detailed patterns on the instrument. It is also a relatively inexpensive method of getting the job done compared to other painting tools. Paintbrushes are typically used to either make broad strokes or add minor touch-ups.
- Spray Gun
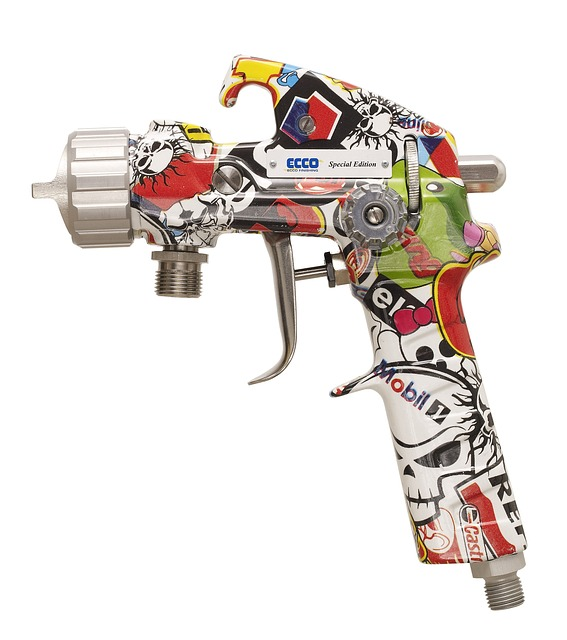
Spray guns are a great but expensive approach for painting a guitar. This tool applies a fine mist of paint to an instrument’s entire body with the help of compressed air. You can use this for large areas because it spreads paint in thin coats all over the guitar, giving it even coverage. It helps you achieve a smooth, custom finish with only a few coats. Spray painting a guitar is a simple and fast way to create intricate designs.
Remember that a respirator should be worn while using spray guns, and proper safety precautions like working in a well-ventilated location should also be taken.
- Airbrush
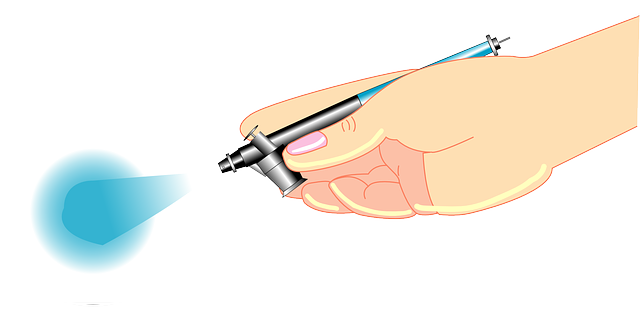
One of the best choices for painting a guitar is to use an airbrush, which delivers a professional touch and exceptional precision. Although airbrushing may come with a considerable cost, the superior quality of the outcome justifies the investment. Functioning similarly to a spray gun but on a smaller and more precise scale, airbrushing is particularly useful for creating gradients and fades..
Painting Techniques
Let’s review some of the correct painting techniques that can be used on a guitar without harming it.
- Solid Color
This is the simplest and the most common technique. It merely entails painting the guitar a solid color, which means painting the entire guitar’s surface a single color. A paintbrush or paint gun can be used for this. Using this method, the guitar’s wood grain is concealed, giving it a neat, polished appearance.
- Metallic
The metallic guitar painting method can be accomplished in several ways. Consider mixing metallic flakes into the paint before applying it. This will make your instrument appear glossy and give it the perfect mirror shine. This technique is popular among guitarists because it uniquely appeals to the instrument. Electric guitar players especially like it.
Airbrushes or spray paints are typically used to accomplish this technique. To achieve an even finish with just the right amount of luster, you can apply a thin coat repeatedly with spray paint. Alternatively, the airbrushing approach will give your instrument an intricate image.
- Relic
This approach creates the instrument’s surface by combining sanding, scraping, and distressing methods. In this technique, you deliberately cause finish wear and tear to give the instrument an aged, vintage appearance. You can intentionally put minor dents and scratches to give it a natural look and make it look like it has been used for years.
The relic guitar painting method requires much skill and expertise to master. Otherwise, you’ll end up being too rough with the instrument and harming it.
- Sunburst
The sunburst guitar painting method exists to give guitars a classic look. The sunburst effect is produced by blending two or more colors. To achieve this look, you usually start painting the guitar with a darker color and gradually mix it with lighter shades, creating a gradient effect. Spray guns, airbrushes, and paintbrushes can create this effect.
Feathering blends the colors as the perfect mirror finish here is hard to achieve. This involves first painting the entire guitar body dark, then let this base coat dry completely. After this, you employ the feathering technique by spraying overlapping layers of the colors to progress from one color to the next gradually.
- Custom Graphic
The custom graphic guitar painting technique involves applying paint with several tools like stencils or decals to make an individualized pattern. This technique is favored by guitarists who want to create unique musical instruments that reflect their style.
First, you must choose the design and create a template or stencil. Once you have made the template, apply it to the guitar’s body with masking tape or adhesive. Afterward, you can paint the pattern with the colors you choose using a paintbrush, airbrushes, or spray guns.
You can apply several coats of paint to get the color coat’s opacity level right. After this, you can design it further or add decals when the paint has dried. Finally, apply a clear coat to protect the paint and give your guitar a high-quality finish.
Painting On Guitar – How To Get That Professional Finish?
There are a lot of steps involved in painting a guitar, but let’s break them down into three major ones to make it easier.
- Preparation
Before you get into it, you must get many things for that professional finish. Here is a list of things that you might require:
Orbital Sander
You need an orbital sander as it will save much of your time when removing old paint. It can also help with smoothing off the new layer. The sanding process requires you to remove all the old paint before entering the painting part. The sander can also help you to get your desired look by giving you a smoother finish.
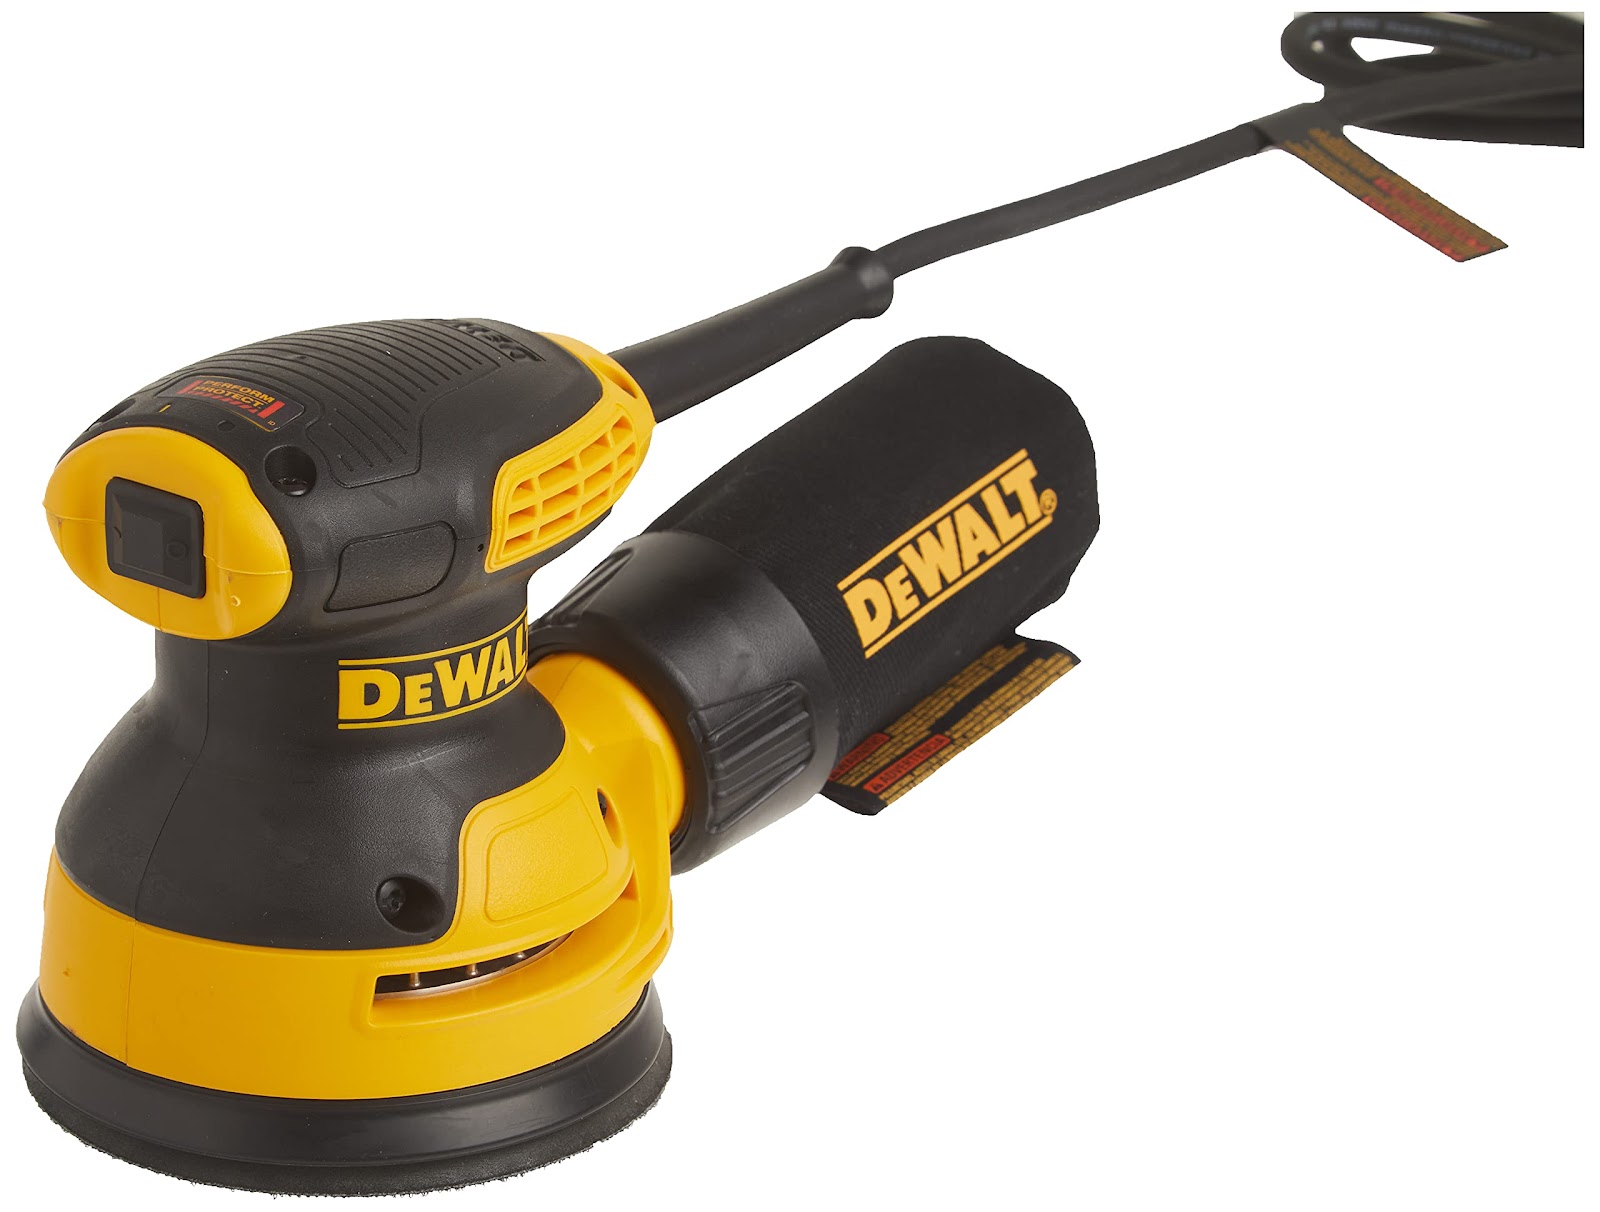
cc: Amazon
Sand Paper
The sandpaper is required for places where the orbital sander can not be used usually, which generally includes curved areas on your guitar where the sander could not reach. The sandpaper can help you to get a level surface when you apply different layers of paint. Most of the time, 100-220 grit sandpaper is required.

Masking Tape
There might be some places you don’t want to paint on your guitar, so this is where the masking tape comes in. You can protect all these areas by masking tapes, such as the guitar necks, hardware, etc.
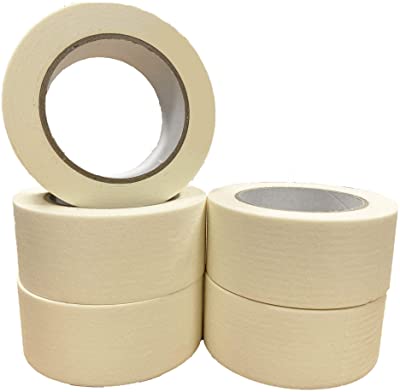
cc: Amazon
Primer
The primer gives you a better finish as it helps the paint adhere better to the guitar’s surface.
Paint
It depends on what paint you want; you can either go for acrylic or enamel, or some people prefer spray paint. It is, however, essential to choose the right spray paint; there are a bunch of spray paints in the market specifically designed for guitars.
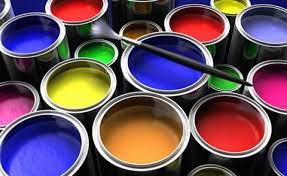
Cc: Build it
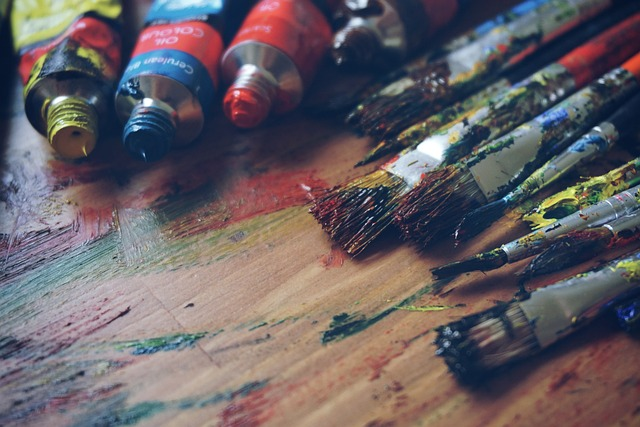
Brushes
You will need brushes of various sizes to apply the primary and the paint. The brushing technique depends on whether you get a good finish, so make sure you paint your guitar correctly.
Cleaning Supplies
It is essential first to prepare the guitar’s body for the paint job so that cleaning supplies like dry cloth are needed to remove any dirt, grease, or grime which is present on the guitar. Some cleaners are specifically made for the guitar; you might need them too.
- Painting
Once you finish all the preparations, you can move on to the next step, painting the guitar.
Sanding and Cleaning
The first step is to sand the entire guitar body to remove all the unwanted old paint on the guitar. Once you are done with that, you can move on with cleaning your guitar thoroughly to make sure there is no dirt or grease present before you paint it.
Covering the Parts with Masking Tape
After cleaning, you should cover all the sensitive guitar hardware with masking tape so the paint doesn’t get there.
Applying the Primer
Once you put the masking tape, you need to apply the primer on the guitar’s body using a brush. Ensure you put a very thin and even coat of primer on the guitar surface. The primer allows the paint to stick to the guitar, and it also provides you with a very smooth base for painting.
It is essential to start the painting process in a well-ventilated area because it will allow the primer to dry quickly so you can move on to putting paint on your guitar.
Applying the first layer
You should apply the first coat of paint on your guitar, but it needs to be a thin layer; otherwise, the paint tends to drop, resulting in an uneven finish.
Before moving on to the next coat, allow your guitar to completely dry and sand your guitar surface after each coat, as it helps eliminate all the imperfections and creates a very smooth surface. The most common mistake people make is that they sand the guitar too hard, which damages the body of the guitar.
Applying Additional layer
Once your wet paint has dried entirely, you should put the second coat on the guitar as, at times, it is possible that the first layer didn’t cover the whole guitar surface. Once the second layer dries completely, you should proceed with the third coat.
We recommend that Zager have at least three coats of paint because it increases its durability. After all, various layers mean more protection to the guitar surface and make the guitar’s wood more resistant to scratches and wear. It also provides evenness throughout the guitar’s body.
Applying Clear Coat
Once the final coat of the paint is dry, you should apply a clear coat or the sealer coat, whatever you like to call it. The purpose of this layer is to protect the paint. You should use a couple more coats to it because it will give your guitar body a glossy finish.
Buff and Polish
Buffing and polishing the guitar is super important because if you are looking for a glossy finish, polishing is the only way to achieve that. On the other hand, buffing is done using a soft cloth; it helps you to get a smooth surface; the only thing you need to be careful of is not to damage the paint while buffing your guitar.
- Finishing
After you finish the paint job, following a couple of steps before using your guitar is essential.
Clean the Guitar
Once you are done painting your guitar, you should use a clean and dry cloth to wipe down the guitar to remove all the dust or debris.
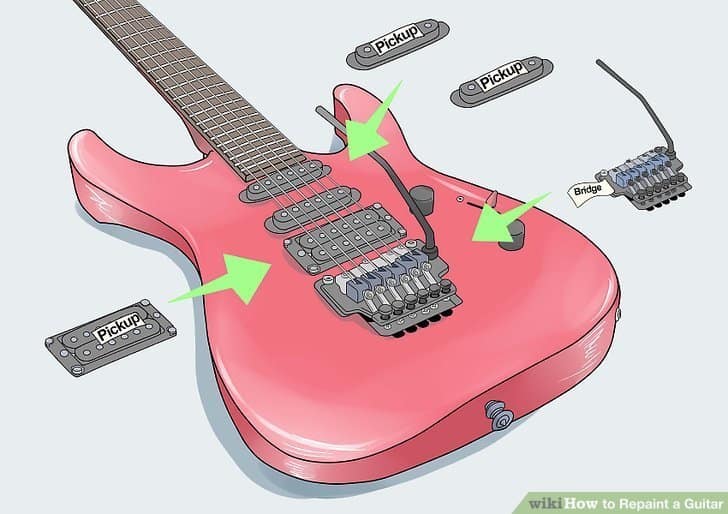
Reassemble The Guitar
Once you are done cleaning, you should get into the reassembling process, where you put back all the hardware, such as bridges, etc., that you removed while painting your guitar. On the other hand, make sure to tune your guitar strings.
cc: Guitarspace
Once you are done with all these steps, this will give you a smooth and perfect finish. Now you can get back to playing your guitar.
How to Care for A Painted Guitar?
You must preserve the appearance of your guitar after you have painted it and ensure the fresh paint doesn’t wear off. Allow me to give you some tips for caring for your guitar.
- Keeping your musical instruments out of direct sunlight and extremely hot or cold environments is one way to take good care of them.
- Always use a clean, damp cloth every time you clean your guitar.
- When you are not using your guitar, gently place it in a gig bag or guitar case to avoid any kind of harm to its paint.
- You might have observed that a guitar’s shine can tarnish over time. To prevent that from happening, you can regularly polish it to keep it shiny.
- Painted guitars should not be exposed to corrosive substances or anything else that could damage the paint.
Follow these tips to keep your guitars in the best condition. If it receives the proper care and maintenance, your painted guitar can be a source of fulfillment and inspiration for many years.
Whether you want to restore an old guitar or make a custom design, painting guitars is a gratifying and pleasant hobby that can enhance your musical experience. These suggestions and methods apply not only to acoustic guitars but also to electric guitars. I hope this article answers your questions about properly painting a guitar and the tools required.
About Zager
The most outstanding features of modern technology and traditional craftsmanship are combined during our registered method for designing and manufacturing guitars. The best perk for beginners is that Zager offers a package deal where each instrument you buy comes with an accessory bundle that includes everything you need when purchasing a guitar.
The Zager’s accessory pack consists of the following:
- Free Zager pro-ABS digital humidified case $199
- Free lifetime membership to Mr. Zager’s Guitar Lesson Library for $295
- Free years’ worth of Zager custom EZ-Play pillow touch strings for $89
- Free years’ worth of Zager carbon guitar picks for $39
- Free Zager leather padded strap $48
- Free Zager pro stainless capo $39
- Free expedited shipping for $79
Due to its bespoke bracing system and unique string spacing, Zager guitars are the best and easiest to play. Due to how little give the bracing has in the face, there is no unintentional buzzing or rattling. Therefore, you only need to press the instrument to create chords lightly.
FAQS
Is It Safe To Paint Your Guitar?
One of the most frequently asked questions is, is it okay to paint your guitar? The answer is YES; it is generally safe to paint a guitar if you take proper precautions, such as using the appropriate protective gear and ensuring adequate ventilation.
Do You Need To Strip The Existing Finish Before Painting Your Guitar?
When it comes to getting rid of the old finish, it depends on the condition of the existing finish. If the existing finish is in good condition, you can paint over it. However, you must strip it off if it is damaged before applying the paint.
How Many Layers Of Paint Should You Apply To Your Guitar?
This depends on the paint you’re using and what type of finish you want. Some paints require two layers, while others require more than two coats. However, having at least 2-3 layers is usually recommended.
Can You Customize The Color Of The Hardware On My Guitar To Match The New Paint Job?
Most of you would want your hardware to match your new color, right? So YES, you can customize the color of the hardware on your guitar to match the new paint job by either painting or replacing it.
Do You Need To Apply A Clear Coat Over The Paint On My Guitar?
We at Zager suggest applying a clear coat over the paint on your guitar to protect the finish and give it a glossy look.